What the picture should look like
Professional profile pictures should leave employers with the sense that you would be a great representation of their company. While we all assume we have a pristine online presence, it’s not uncommon to see poorly cropped and blurry profile pictures on professional networking sites. Avoid cropping your friends out of an old photo or zooming in on a panoramic of you from vacation. Take the time to stage and create your professional profile and the difference will be apparent.
Wardrobe
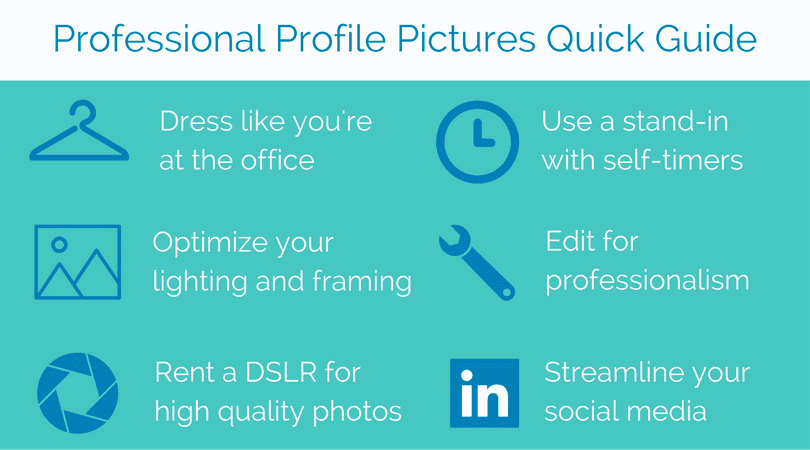
You will want to dress for your photo as you would for a typical day at the office. It’s best to go with business professional attire and wear simple neutral colors to not offset the photo itself. You also want to keep in mind that your hair and makeup should also be sensible.
Setting
When you’re ready to take your photo, scope out the right lighting to ensure that your face is well-defined and the light temperature flatters your features. In moderately sunny weather, often the best place to photograph people is outdoors. Another fool-proof option is to take your photo against a well-lit neutral-colored wall in your home. As long as you avoid wallpaper and tiles your photo will look professional.
Framing
While you can crop and straighten your picture during your editing process, it is still important to frame your photo in the right way. Your face should take up a majority of the photo while still allowing a few inches below your shoulders to show. If your picture is taken too far away, your headshot may come out blurry or too small once cropped.
Facial Expression
It is important to be conscious of the way your facial expression will be perceived when you take a professional profile picture. When employers recruit through social media, they are looking for candidates with good attitudes who are ready to make a positive impact at their company. An onward-facing smile is much more likely to make this impression than a straight face or an aloof side profile. While you are taking pictures aim to appear confident and approachable.
Taking the picture
Ask for help
The easiest way to take a great picture is by asking for help! Enlist a friend who is willing to take a few minutes out of their day to snap some photos of you. As a thank you for your time, you can offer to return the favor.
Take a photo yourself
If finding a friend to help out isn’t an easy option, your phone’s self-timer should do the trick. Try using a lamp or houseplant as a stand-in for yourself while positioning your camera to get the right lighting and frame. Using your self-timer to capture a great photo may take some time; focus on being patient until you get the right shot.
Advanced option
While today’s cell phones are more than capable of capturing crisp images, if you’re looking to take an extremely high-quality photo you may need to turn to a Digital Single Lens-Reflex camera (DSLR). DSLRs can cost anywhere from $300 to several thousand dollars. However, you can often rent a DSLR body and lens for about $50 a day. Check out Lumoid for great daily rates. If you are a student, you may be able to rent a DSLR for free from your school’s media department, just ask!
Editing the picture
After you’ve settled on a fantastic picture, edit it to ensure it is as professional as possible. If necessary, straighten and crop the photo so you appear in the center, standing straight and looking directly at the camera. You may also want to adjust the exposure, brightness, contrast, backlight, and shadows in the picture if it looks a bit too dark or somewhat over-exposed once you get it on a computer screen.
Tools
BeFunky is a great online photo editor that provides a simple platform for editing photos and even includes beautifying effects. If you are more experienced using layers and tools found in Adobe Photoshop, try out Pixlr, a free web app that offers extensive photo editing options. PhotoScape is another free option if you prefer your photo editing software to be downloadable, with immediate access to your computer’s pictures.
Dimensions
Once you’ve edited your picture be sure it is saved in the right dimensions. Depending on the social profile you have in mind, your photo should not be smaller than the following:
- LinkedIn: 500 x 500
- Facebook: 180 x 180
- Twitter: 400 x 400
- Google+: 250 x 250
As a good rule of thumb, keep your photo at least 500 x 500 pixels so that it can be used across all your social media channels.

Want to learn how to present your best self when searching for a job? Subscribe to our blog below and receive helpful advice on how to be a top job seeker!
